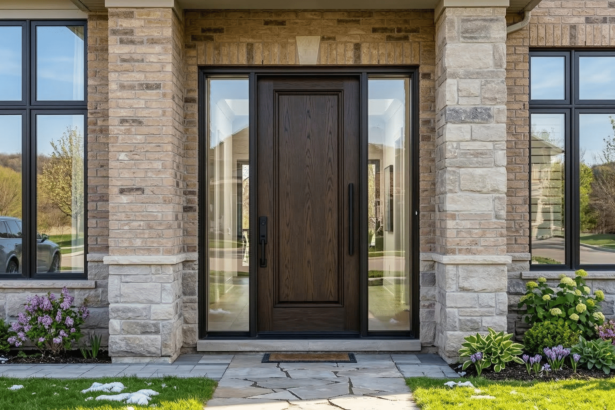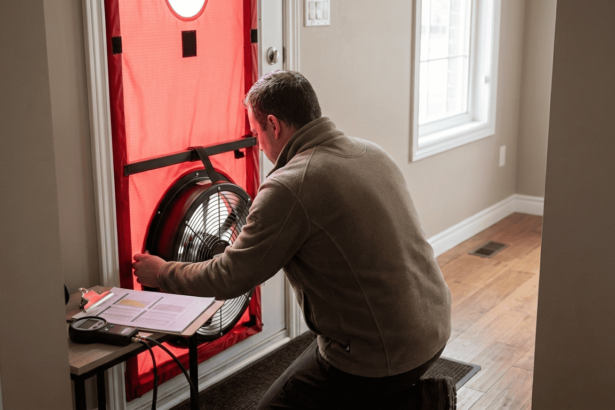
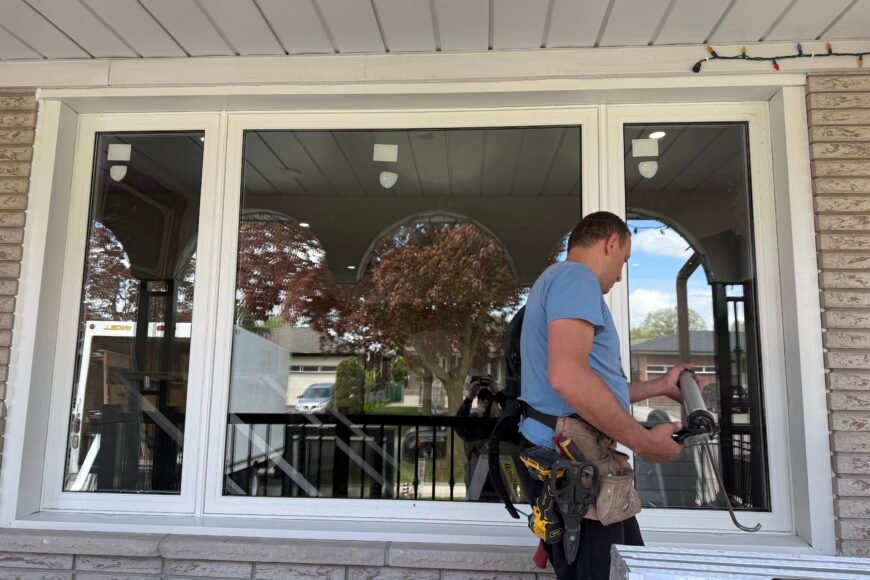
Window and Door Installation Barrie homeowners can use this simple guide to prepare for replacement windows and doors before the crew arrives.
A little prep helps your installation day move faster, keeps walkways safe, and reduces stress when crews need access to multiple rooms.
If you’re planning a replacement project, learn more about our window installation service.
If you want a clear plan and accurate measurements before installation day, you can book a measurement or request a quote.
Window and Door Installation Barrie Quick Checklist
Use this list as a quick self-audit before replacement day.
- I know which windows/doors are being replaced and which rooms the crew will need to access.
- I cleared a wide path from the entry to each work area (stairs, hallways, basement access).
- I moved furniture away from each window/door (aim for roughly 4–5 feet of working space when possible).
- I removed curtains, blinds, and any fragile décor near the openings (frames, mirrors, shelves, plants).
- I protected items that collect dust (electronics, bedding, clothing near windows) or moved them out of the room.
- I rolled up rugs and moved floor lamps or side tables that could get bumped.
- I have a plan for pets and small children so they stay away from tools, open gaps, and high-traffic areas.
- I checked for window/door alarm sensors or smart-home devices and planned to disable/move them if needed.
- I cleared the driveway and confirmed where the crew can park and stage materials.
- I unlocked gates and cleared the outside area near each opening (planters, patio furniture, snow/ice as needed).
- I know who will be the “point person” at home for questions and the final walk-through.
- I’m ready to do a quick final walk-through and test basic operation (open/close/lock) before the crew leaves.
24–48 Hours Before Installation
Start with space and access, because it’s the fastest way to prevent delays.
Walk room-to-room and identify what needs to move so installers can work safely around each opening.
- Move furniture, toys, and storage bins away from the work zone; focus on creating a clear path first, then add more clearance if you can.
- Remove blinds/curtains and keep the hardware together in a labelled bag if you plan to reinstall them later.
- Take down wall art and shelves close to the opening, since vibration from removal can shift items.
- If you work from home, pick a “quiet room” away from the main work areas and plan calls around the loudest stages (removal and fastening).
The Night Before
A quick reset the night before makes the morning smoother.
- Clear shoes, coats, and entryway furniture so the crew can carry units safely without tripping hazards.
- Decide where you want to keep valuables and fragile items away from traffic (a bedroom with the door closed works well).
- Keep your phone available and make sure the installer has the best contact number for arrival updates.
Installation Day: What to Expect (Simple Timeline)
Most replacement projects follow a similar rhythm, even though timing varies based on the number of openings and site conditions.
If your project includes replacement entry doors, you can also review our door installation service details.
- Arrival and walk-through: confirm the work areas, access routes, and any “watch-outs” (pets, alarms, parking).
- Work-area protection: crews typically protect floors and nearby surfaces; you can also move extra items out if you’re concerned about dust.
- Removal of old units: this is often the noisiest stage and may involve removing trim or disturbing old sealants.
- Installation: the new window/door is positioned, secured, and sealed/insulated to reduce drafts and moisture issues.
- Trim and finishing: finishing details vary by home and product, so ask what’s included for your project.
- Cleanup and final walk-through: review operation and confirm any next steps.
Outside Prep (Driveway, Gates, and Access)
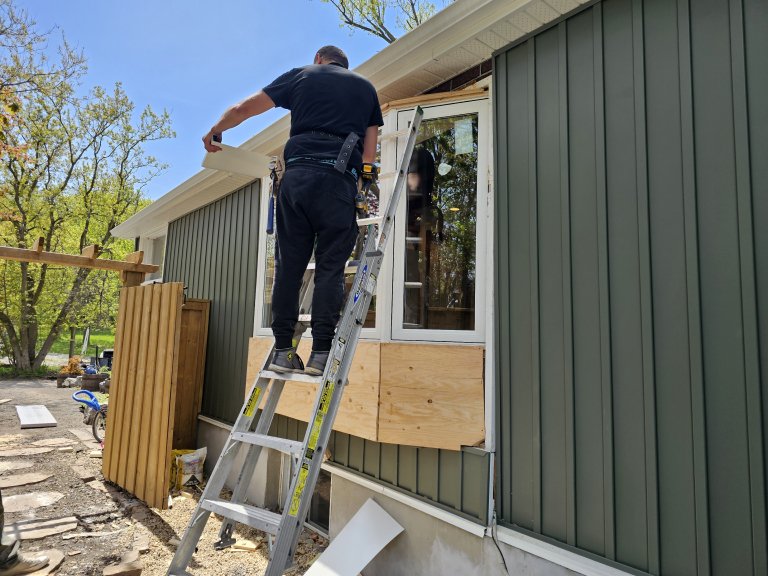
Exterior access matters more than most homeowners expect, especially for patio doors or ground-floor windows.
A clear path helps prevent scratches, broken planters, and delays when crews need to move large units.
- Clear the driveway if possible and confirm where the crew can park.
- Unlock gates and move patio furniture, BBQs, and planters away from work zones.
- In winter conditions, do your best to clear snow/ice near entry points and around the openings.
Dust, Noise, and Home Protection Tips
Window and door replacement is a renovation project, so some noise and dust are normal.
Simple steps like moving fabric items and clearing surfaces can make cleanup easier.
- Move bedding, clothing baskets, and fabric chairs away from the immediate work zone.
- Cover nearby electronics if they can’t be moved.
- Keep interior doors closed in rooms that aren’t part of the day’s work, so dust stays contained.
Cleanup and Disposal (Confirm What’s Included)
Most homeowners appreciate a tidy work area at the end of the day.
Basic cleanup is typically part of a professional installation, while haul-away and disposal details can vary—confirm what’s included in your quote before installation day.
Final Walk-Through: What to Check
The final walk-through is your chance to confirm the basics and get quick answers while the crew is still on site.
Test each opening and note anything that feels stiff or unusual so it can be adjusted right away.
- Open/close the window or door and check locking.
- Check that screens (if included) fit and operate as expected.
- Ask what’s normal in the first few days (new hardware can feel tighter at first).
- Confirm the next step if additional finishing is scheduled (touch-ups, trims, or a follow-up visit).
FAQ
Do I need to remove blinds and curtains before the crew arrives?
Yes—removing window treatments and clearing the immediate area usually helps installers work safely and reduces the chance of damage.
If you’re unsure what to remove for your specific setup, ask ahead of time so you don’t rush on installation morning.
How much space should I clear around each window or door?
If possible, aim for roughly 4–5 feet of clear working space around each opening, plus a clear path from the entry to the work area.
If you can’t create that much space (small bedrooms, tight basements), clear what you can and let the crew know in advance.
Will there be dust and noise during window replacement?
Some dust and noise are normal, especially during removal of old units and fastening/adjustments.
Moving fabric items and clearing surfaces makes the day easier and speeds up your cleanup afterward.
Can I stay home and work during the installation?
Usually yes, but plan for louder periods and occasional access questions, especially if multiple rooms are involved.
If you have important calls, schedule them away from the noisiest stages or work from a room far from the work zone.
What should I do with pets and small children?
For safety, keep pets and children out of active work areas and away from tools, open gaps, and high-traffic paths.
A separate room (or an off-site plan for part of the day) can reduce stress for everyone.
Do I need to clear the driveway or provide parking?
It helps if you can, because crews may need space for unloading and staging materials safely.
If parking is limited, let the installer know ahead of time so you can agree on the best option.
What if the crew finds wood rot or framing issues?
Older homes sometimes hide issues around openings that aren’t visible until the old unit is removed.
If something is discovered, a professional installer should explain the options and any scope changes before proceeding.
How do I know the job is “done” before the crew leaves?
A final walk-through typically includes basic operation checks (open/close/lock) and a quick review of what was completed that day.
Ask what, if anything, is scheduled next (finishing, trim, touch-ups), so you know what to expect.

See examples of finished work
If you’d like to see real before-and-after results, browse our recent window and door projects.
If you’re not sure whether we cover your neighborhood, check areas we serve .
Book a measurement (Barrie)
If you’re planning Window and Door Installation Barrie, you can book a measurement or request a quote.